Changing Bike Pedals On A Mountain Bike Or Road Bike – How To Guide
Installing pedals on your bicycle can be a problem if you've never done it before. However, all cyclists must know how to do it, especially if they're riding with clipless pedals or assembling a new machine.
In this guide, you learn about the tools necessary for changing bike pedals, how to remove bicycle pedals, and fit new pedals. You also focus on the difference between the left and right pedal.
Plus, you get to learn about stubborn pedals and when to turn in the opposite direction. Regardless, you're sure to get the left and right pedals on correctly so that you can enjoy mountain biking again in no time! You can also check our article on the best mountain bike pedals. Let's get started!
Tools Needed to Change Bike Pedals (Pedal Wrench and More)
Most pedals are removed and fitted with an Allen key or hex wrench. It might also be called a 15mm pedal spanner. If the pedals have parallel faces on the pedal spindle between the pedal body and crank, you need a 15mm pedal spanner. Any one of them works if it's not too fat to fit between the parts. Using an adjustable spanner means that you could struggle.
Some pedals have a large locking nut next to the wrench flats or pedal wrench area. Typically, these are more expensive, such as the Shimano pedals. They're used to get to the internal part of the pedal for servicing and aren't required here.
Old pedals may offer 9/16-inch pedal flats, so you may require a pedal wrench to remove pedals easily. However, you're unlikely to encounter this problem on anything but the oldest of bikes. Since 9/16-inch equals 14.28mm, you could probably use a 15mm spanner with no issue.
If the pedals use hexagonal sockets on the end of the spindle (viewed from the inside of the crank), you might require an 8mm Allen key. It's often the 8mm version, but you might need a 6mm version, depending on your setup.
The hex key featuring a long handle is ideal, and you may want a T-shaped version with a sliding end. That way, you can move the long part of the key to avoid the chains of the bike.
It's also best if you have a bike stand already installed to make life easier. You may also flip the bike over and rest it on the seat to get at the right and left pedals more easily.
With that, you should always fit and remove pedals from the crank end of your spindle. If they have a cap, bolt, or screw at the outside end of the spindle, it's only used to service your bearings.
RELATED: Removing A Bike Chain On A Mountain Or Road Bike
Right vs. Left Pedal Explained – The Differences
Left and right pedals often have different threads. You want to make sure you're fitting the right pedal to each side of the bike. Before moving on, let's remove all doubt:
- The right-hand side of the bike has the gears on it and might be called the drive side.
- The left-hand side of your bike has no gears and could be called the non-drive side.
Right Pedal Threading
The right pedal is always standard-threaded. That means they tighten when turning the spindle clockwise and loosen by going anti-clockwise. In a sense, it's righty tighty, lefty loosey.
Left Pedal Threading
Left pedals are always sure to be reverse threaded. That means they tighten by turning your spindle anti-clockwise and loosen by going clockwise.
To be completely clear, this is the opposite of the drive side pedal and almost every threaded part you might encounter in life or on a bike.

How to Tell the Pedals Apart
The good thing is each pedal comes marked to indicate whether it's a left-side pedal or a right pedal. At the most basic, you might see an “R” or “L” stamped at the end of the spindle. It could also be stamped directly on the wrench flats or the pedal threads.
If the right or left pedal doesn't have that, it could be a textured area beside the wrench flats that indicate a left pedal. However, if that isn't there, you can look at the threads to see the difference. Most pedals have a standard-threaded version for the right one, so they appear to be going upward and to the right.
Left pedals are opposite, so they look to angle upward and to the left.
Remove Bicycle Pedals
Step 1: Removing the Right Drive Side Pedal from the Bike
To remove pedals from the bicycle, you should rotate the crank arm so that, when viewed at the drive side, the right-hand crank points toward the front of the wheel or at the three o'clock position.
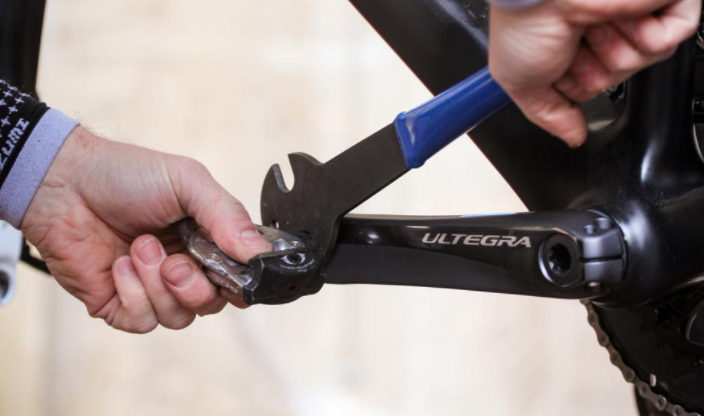
If the pedals use wrench flats, you should place a pedal spanner there, so it points toward the rear of your bike. For stubborn petals that use an Allen key, you need the short end at the back of the pedal, making the long section point toward the back.
When the tool is fitted, just push down hard while holding the crank on the opposite side. That loosens the pedal, and then you can unscrew it by hand.
If the pedals were never greased once fitted or haven't been removed in a while, it could require more force to get things going.
However, if you don't have anything to help, you could place the wheels on the floor and have someone hold them steady. That way, your foot can provide extra pressure when necessary. Just make sure that the tool is securely fitted into the hex socket or wrench flat before doing so. It might also be wise to use a folded towel under the pedal to protect the flooring.
Step 2: Removing the Left Pedal from the Bike
To remove pedals from the left, you should view the bike from the non-drive side. Rotate the left-hand crank arm to point toward your front wheel at the nine o'clock position. You're following the same steps as before to remove pedals, but place the Allen key to point toward the back of your bike.
How to Change the Bicycle Pedals
Step 1: Fitting the Right Pedal to the Bike with the Crank Arm
If you've got some used pedals or a used bike, you must completely clean the threads on the pedals and crank. Dirt and grit could damage the threads or wear them out over time.
With the right- and left-hand thread clean, apply some grease and anti-seize to them on the pedal axle. This is crucial!
If you fit pedals with dry threads, they could be much harder to remove. With that, the pedal and crank arm might fuse permanently together.
Don't use anything other than anti-seize or grease. Chain lube doesn't work in the long run.
Sometimes, the pedal and crank arm requires you to add some pedal washer to the spindle before you fit them. Check your owner's manual for more information here.
Now that the pedal axle is lightly greased, thread it on by hand. Make sure that you turn the pedal clockwise. Continue threading it by hand until it ultimately bottoms out on your crank. Then, you can tighten it up lightly with a spanner or Allen key.
Please note: the pedals don't have to be extremely tight. You just want them firmly snug on the crank. Usually, “wrist tight” is the way to describe that. Therefore, if you can tighten it with your hands and just a bit more with a tool, this is good enough.
Did You Do It Correctly?
You might not be able to thread your old pedals and cranks with dull threads if you just use your hands. Before turning to the tools you have at your disposal, you should double-check that you're fitting the correct pedal to the right threads.
This means that the left-hand pedal cannot thread into the crank of the right side. If you force it, the threads cross, and the bike's crank is destroyed.
Ultimately, this is a common issue. Even experienced bike pedal installers can make a mistake if they're rushing. Go slow and take your time so that you do it correctly.
Once you're fully certain that you've fitted the correct pedal to the crank, you may use a hex key or spanner. That should get things going well.
Step 2: Fitting the Left-hand Pedal
To fit the left pedals, the process is exactly the same. However, you should remember that the threads are reversed. Therefore, you have to go counter-clockwise to tighten it to the spindle.
Again, make sure that you go slowly and don't overdo it. If the pedal doesn't seem to want to go, stop what you're doing and restart. It's better to do that than to ruin your bike!
When you're finished, and the pedals are on, make sure that you wipe any extra grease from the crank.
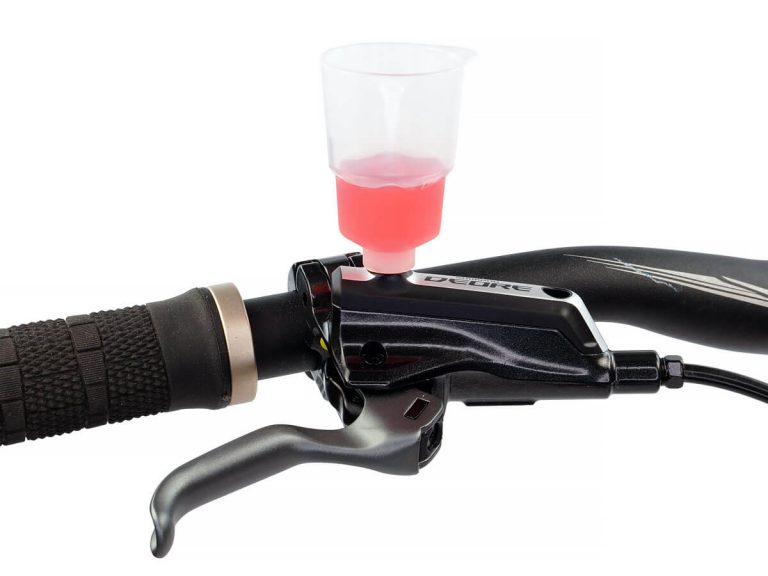
RELATED: Your Guide To Bleeding Shimano Brakes On A Mountain Bike Or Road Bike
Conclusion
With so many how-tos out there, you probably can't wait to go to a local bike shop and buy your first bike. However, if you've already got one, it might be time to remove bicycle pedals that no longer work properly.
The goal is to put on the new pedals without damaging anything else, which means knowing when to turn clockwise or counter-clockwise. Though it isn't hard to install pedals, you should be aware that bike pedals can be damaged or broken. You might feel that you need more leverage or force, but you might have each one threaded incorrectly.
As long as you gather the right tools and follow the steps listed above, you should have no trouble. However, it can take practice, so don't beat yourself up if it takes a few hours to complete.