Removing A Bike Chain On A Mountain Or Road Bike
As a cyclist, knowing how to remove a bike chain is important for keeping your bicycle in tip-top shape.
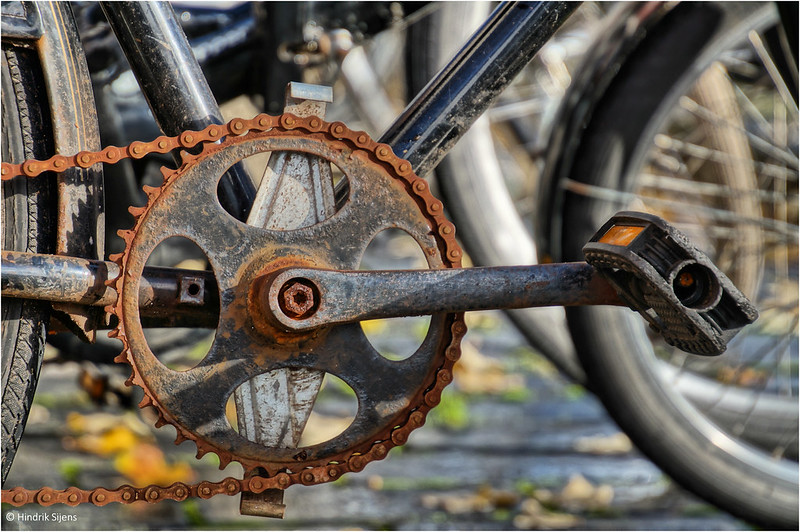
After all, the chain is an integral component to the function of your bike, and it will need replacing from time to time due to things like rust, damage, and normal wear and tear.
There are a few different ways to remove a bike chain. For one, you can use special tools, such as a chain breaker or a pair of master link pliers.
However, you may not have these tools on-hand; especially if you’re a beginner cyclist. Thankfully, in most cases, you can remove a bicycle chain using everyday tools like a hammer and needle nose pliers.
In this article, we’ll be breaking down how to remove a bicycle chain properly to ensure you’re riding smoothly. Also see our article on bike chain size charts.
Removing A Chain With A Master Link
Most bicycle chains have what is called a “master link” connecting both ends. This piece looks different from the other chain links, making it easy to spot.
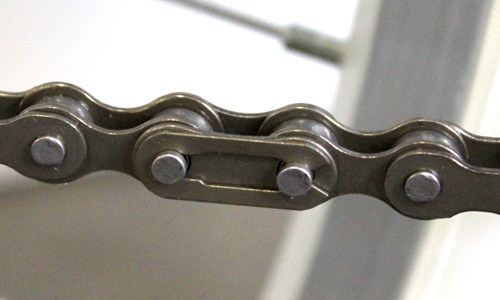
If you’re having trouble finding the master link, you’ll want to slowly turn your bike pedal backwards to rotate the chain until you come across it.
While it’s recommended to remove master links using special master link pliers, in most cases, you can use needle nose pliers instead, which are more readily available. You can even buy them online.
Here’s how to remove a master link bike chain with needle nose pliers:
- Use your needle nose pliers to reach between the chainplates.
- Squeeze both chain links until the master link completely disconnects
In some instances, you may be able to remove a master link chain with regular, everyday pliers. However, it can be difficult, depending on how small the pliers are.
Removing a master link chain with normal pliers starts with checking which way each side of the master link needs to go in order to be disconnected.
You’ll then angle your pliers so that they catch only the plates of each side of the master link.
The teeth of the pliers can be used to get a significant grip on each plate. If placed properly, squeezing onto them will disconnect the master link.
Removing A Chain Without A Master Link
If your bike happens to have a chain without a master link, the removal process is going to be harder. However, it’s still possible without special tools.
Keep in mind, you will need a few everyday tools, including:
- Hammer
- Punch tool
- Supports (such as two wrenches or blocks of wood)
Here’s how you can remove a chain without a master link using the tools listed above:
- Position the chain so that it’s bridged across two solid supports
- Place a punch tool over one of the rivets in the chain
- Using a hammer, push the rivet out and separate the chain
How to Properly Replace A Bike Chain
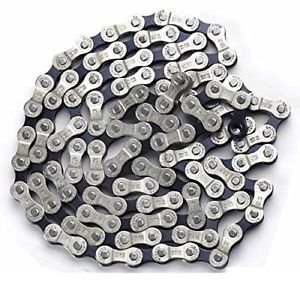
Once you’ve removed your bike chain, it’s time to replace it with a new one. This process needs to be done properly. Keep in mind, not all bike chains are that easy to reconnect.
Some bike chains have the direction they need to be on a drivetrain. You’ll be able to easily notice them because they have markings on one side and blank plates on the other side.
You might find it tricky to route the chain back. For instance, while wrapping it around cassette cogs and chainrings is simple, routing the chain through a rear derailleur can be difficult and confusing.
It’s important to note, the chain has to go on the right side of the upper pulley sprocket and the lower pulley’s left side.
You’ll need something to hold both ends of the chains together while connecting them back. This is because the rear derailleur puts a significant amount of tension on the chain.
You can use an old spoke, cut on around 7 inches in length, and bend both ends so they resemble two hooks. These hooks can then be inserted to hold the chain and derailleur tension, while giving you just enough slack on both chain’s ends to be able to easily connect them.
The last step is to connect the chain back using one of the two different methods mentioned above. You should use the method that best fits your chain type.
Knowing When To Replace A Bike Chain
Oftentimes, cyclists (especially beginners) don’t know when they need to remove and replace their bike chain. You’ll want to look for signs of “chain wear” or “chain stretch”.
As the chain wears, its pitch literally stretches and grows in length. While there are many types of chain wear, this is the most significant, as it is a result of the bushings wearing with the chain pins during consistent use.
Overtime, the inner diameter of the bushings increase and, as a result, the pins will groove out. Each chain typically starts at a pitch of 0.5 inches (or 12.7 millimeters).
A worn chain is often referred to a chain that has reached 1% growth from its original pitch.
An additional chain wear type is called “slop”, and isn’t easily measurable. However, this side to side chain wear can lead to inconsistent and slow shifting during rides, long before any pin wear is noticed.
Why Should You Care About Chain Wear?
It’s important to measure chain wear — a process we will get into shortly — and replace your chain when the time is right. This is because chain wear leads to lost efficiency and poor shifting.
In addition, a chain that is severely worn will be weaker and prone to snapping under stress when you’re riding.
With that said, the most important reason you should care about chain wear is because it can cost you a lot of money if it’s not addressed in a timely manner.
A new chain (at a pitch of 0.5 inches) is designed to sit deeply into the cog. When the pitch grows, the chain will roll higher up on the tooth, causing rapid wear on the cog as the point of contact is reduced.
Too much chain wear will cause the chain to start skipping over the top of the cog. A phenomenon no cyclist wants to deal with when riding.
Measuring For Chain Wear
In order to properly measure for chain wear, you’ll need either a chain checking tool or an accurate ruler or tape measure.
Using A Ruler
When using a ruler to measure for chain wear, you should first measure a new chain and ensure it is exactly 12 inches across 12 links, from middle of pin to middle of pin.
Most experts agree, the common number for a worn chain is 1% elongation between links. However, you’ll want to remove and replace your chain before it gets to this point.
In this case, anything past 12, 1/16 inches (or 0.5%) would signify its time to replace your chain. Anything past 12, ⅛ inches (1%) has been worn too much, and a new cassette will likely be needed.
No matter what method you use to measure your bicycle chain, make sure you don’t include any masterlink, ‘powerlock’, or quicklink that might be installed.
Conclusion
As you can see, knowing when to remove and replace a bicycle chain is imperative to avoiding chain wear and ensuring a smooth ride.
While there are a few different methods for removing a bike chain, you can usually do the job without any special tools. Just be sure to identify your chain type and refer back to this article for guidance.
Also check out our article on how to inflate a presta valve without an adapter.
Below is a good video explaining how to change a chain without special tools.